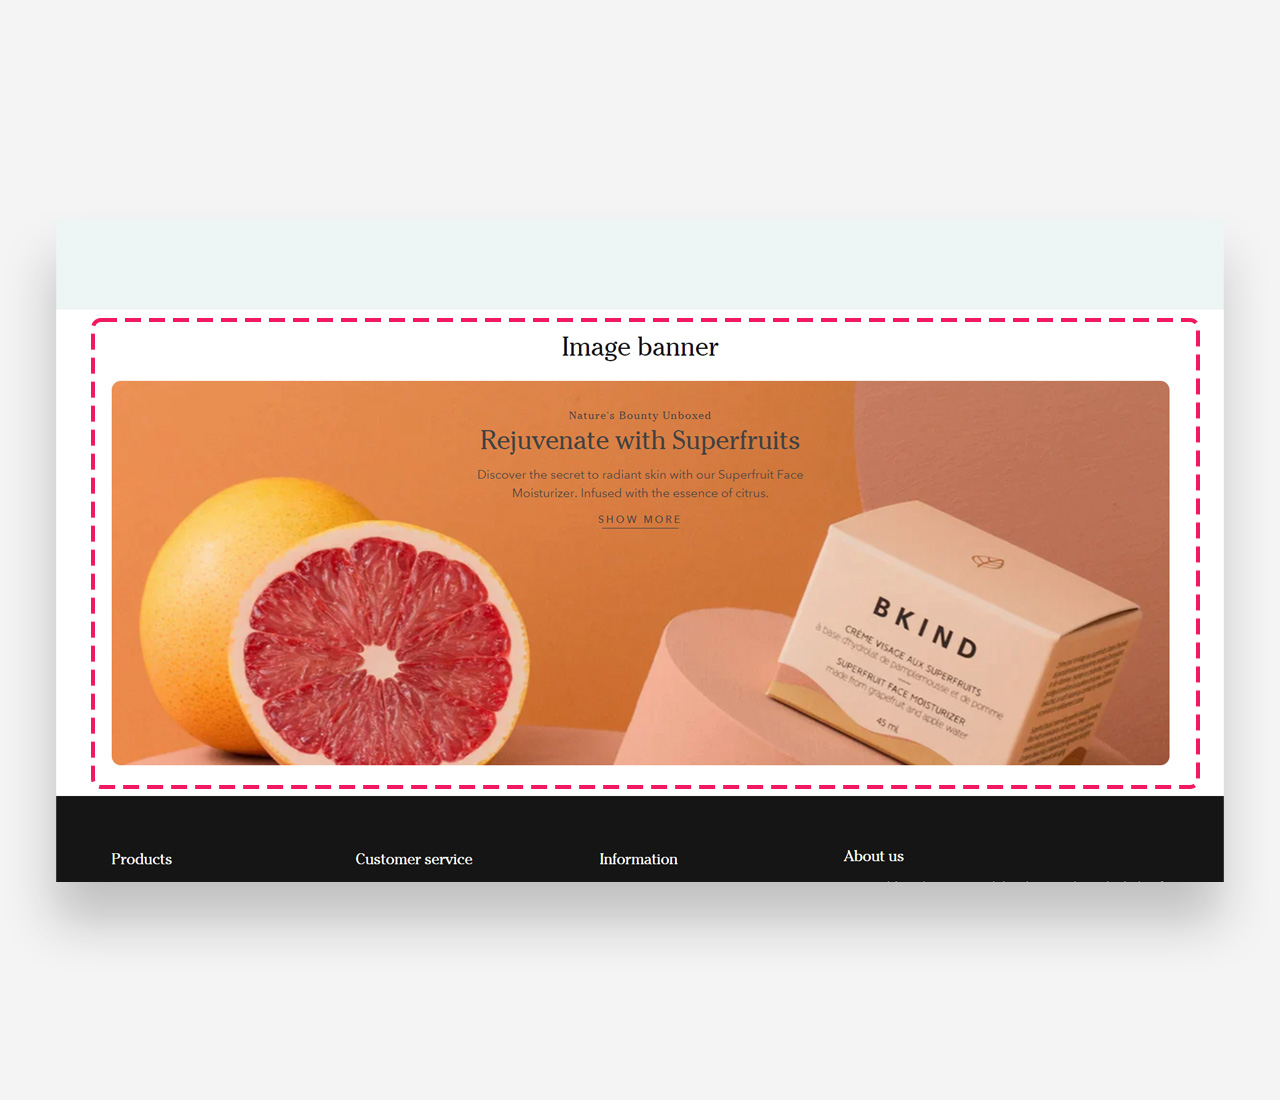
Image Banner
What is the Image Banner section?
The Image Banner section allows you to create a visually impactful full-width banner combining background media with overlaid content. It is ideal for hero sections, promotional campaigns, or any area where you want to make a strong visual statement with an image or video paired with text and call-to-action buttons.
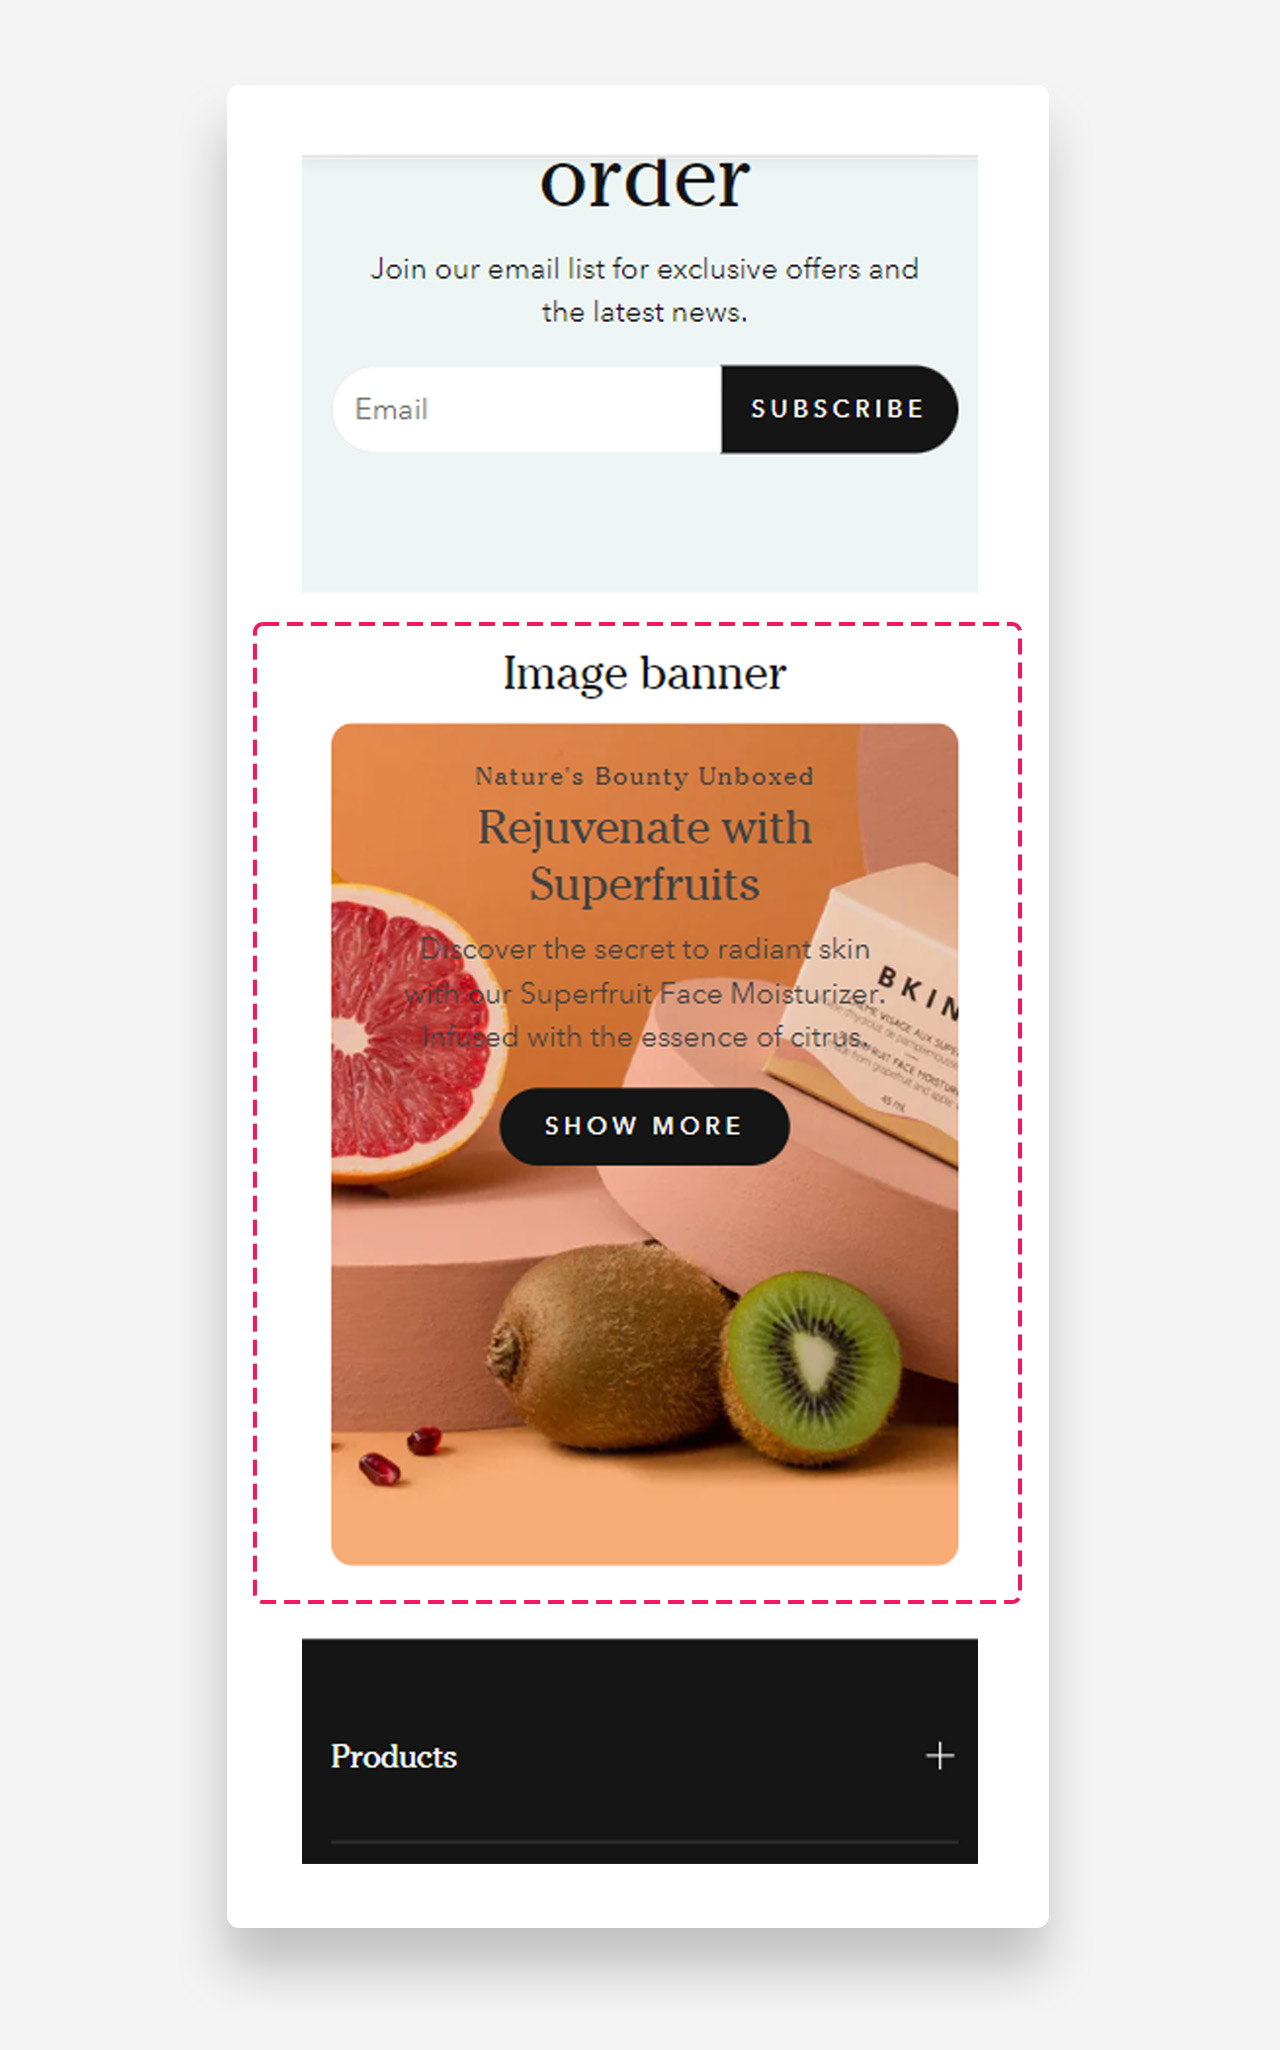
Mobile view example
Main Settings
General
- Heading: Set the title displayed above the banner. Optionally enable the rich text field to access text formatting options.
- Make section full width: Enable this toggle to stretch the banner to the full width of the screen.
Section Height
- Height: Choose between Adapt to image, which adjusts the banner height based on the uploaded image, or Fixed height, which sets a specific height regardless of the image.
- Desktop fixed height: Define the fixed height of the banner on desktop. Applied only when Fixed Height is selected.
- Mobile fixed height: Define the fixed height of the banner on mobile devices. Applied only when Fixed Height is selected.
Large Screen Version
- A Shopify-hosted video: Select a video to display as the banner background on large screens.
- Image: Upload a background image displayed on large screens.
- Large screen text alignment: Set the vertical alignment of the content on desktop — Top, Center, or Bottom.
- Horizontal alignment: Set the horizontal alignment of the content on desktop — Left, Center, or Right.
Mobile Version
- A Shopify-hosted video: Select a video to display as the banner background on mobile devices.
- Image: Upload a background image displayed on mobile devices.
- Mobile screen text alignment: Set the vertical alignment of the content on mobile — Top, Center, or Bottom.
- Horizontal alignment: Set the horizontal alignment of the content on mobile — Left, Center, or Right.
- Show text below image: Enable this toggle to display the text content below the image on mobile devices instead of overlaying it.
Colors
- Heading color: Set the color of the section heading displayed above the banner.
- Section background color: Customize the background color of the entire section.
- Background opacity: Adjust the opacity of the section background color.
- Text color: Define the global text color for the section.
- Image container color: Set the background color of the image container.
- Background opacity: Adjust the opacity of the image container background color.
Section Spacing
- Distance from the top: Adjust the spacing above the section.
- Distance from the bottom: Adjust the spacing below the section.
Optimization
- High-priority image loading: Enable this option to load the banner image with high priority.
How to set up Section Image Banner
Blocks
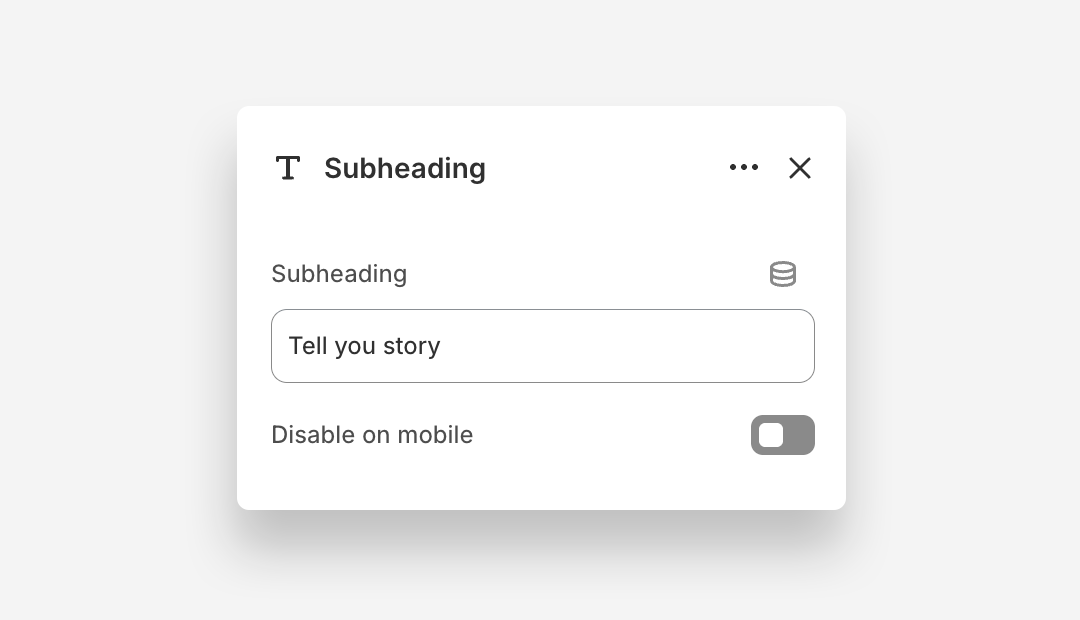
Subheading Block
- Subheading: Enter the subheading text.
- Disable on mobile: Hide this subheading block on mobile devices.
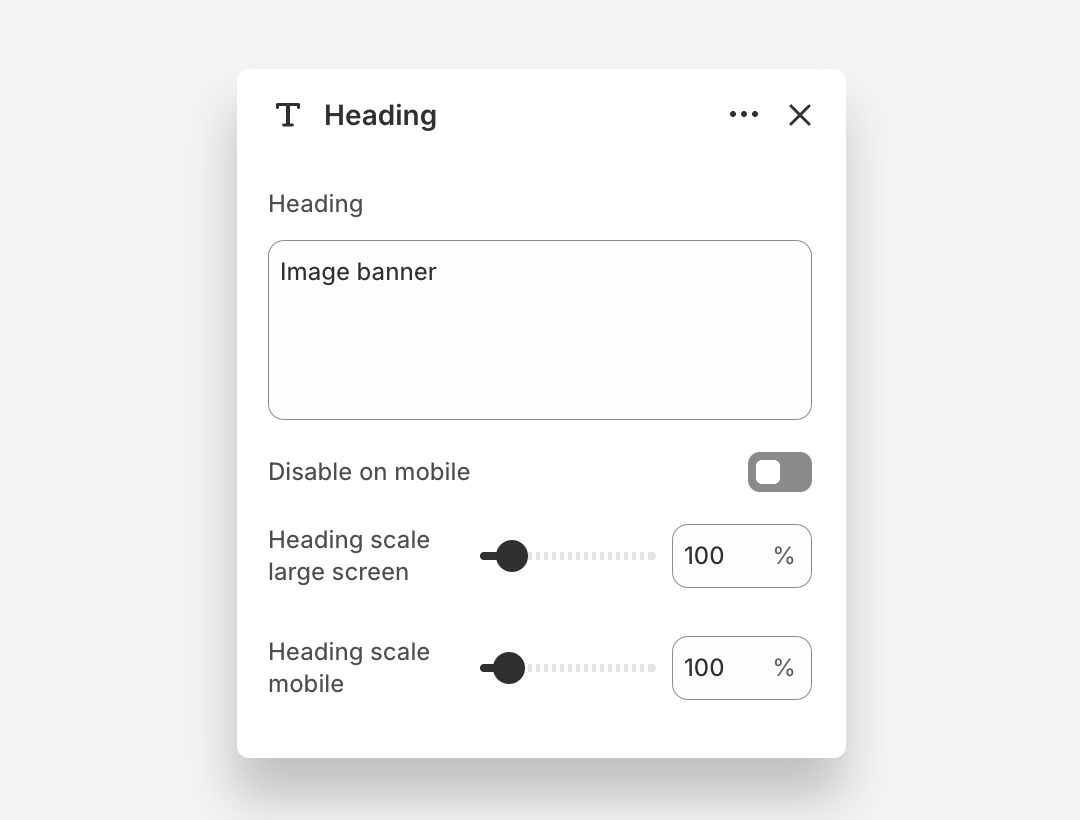
Heading Block
The Heading block displays the main headline overlaid on the banner image.
- Heading: Enter the heading text displayed on the banner.
- Disable on mobile: Hide this heading block on mobile devices.
- Heading scale large screen: Adjust the font size of the heading on large screens.
- Heading scale mobile: Adjust the font size of the heading on mobile devices.
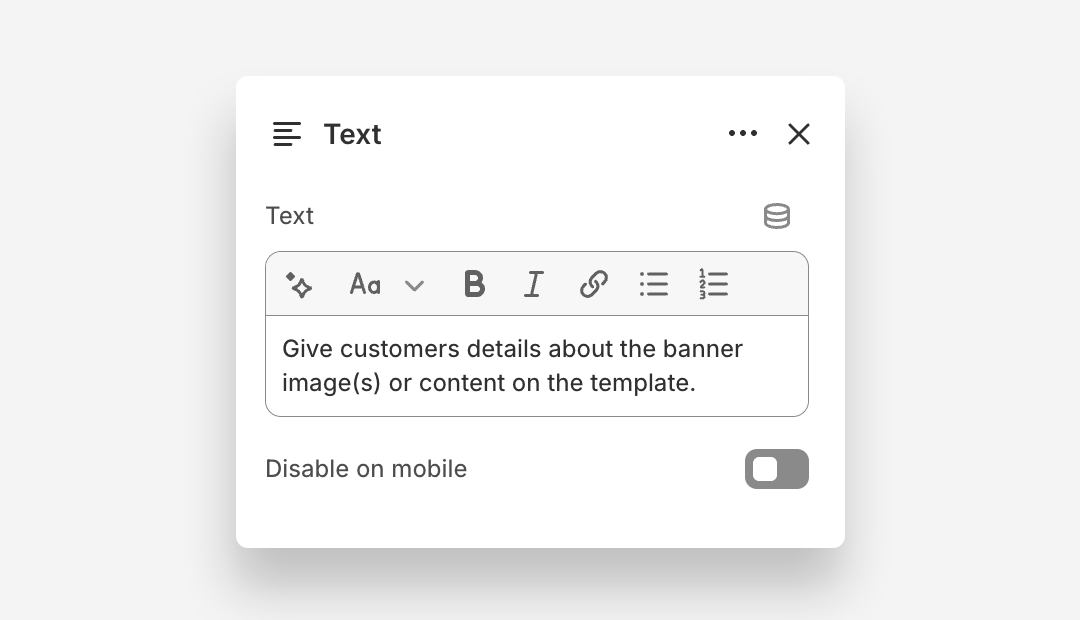
Text Block
The Text block displays supporting body copy overlaid on the banner image.
- Text: Enter the body text displayed on the banner. Rich text formatting options are available.
- Disable on mobile: Hide this text block on mobile devices.
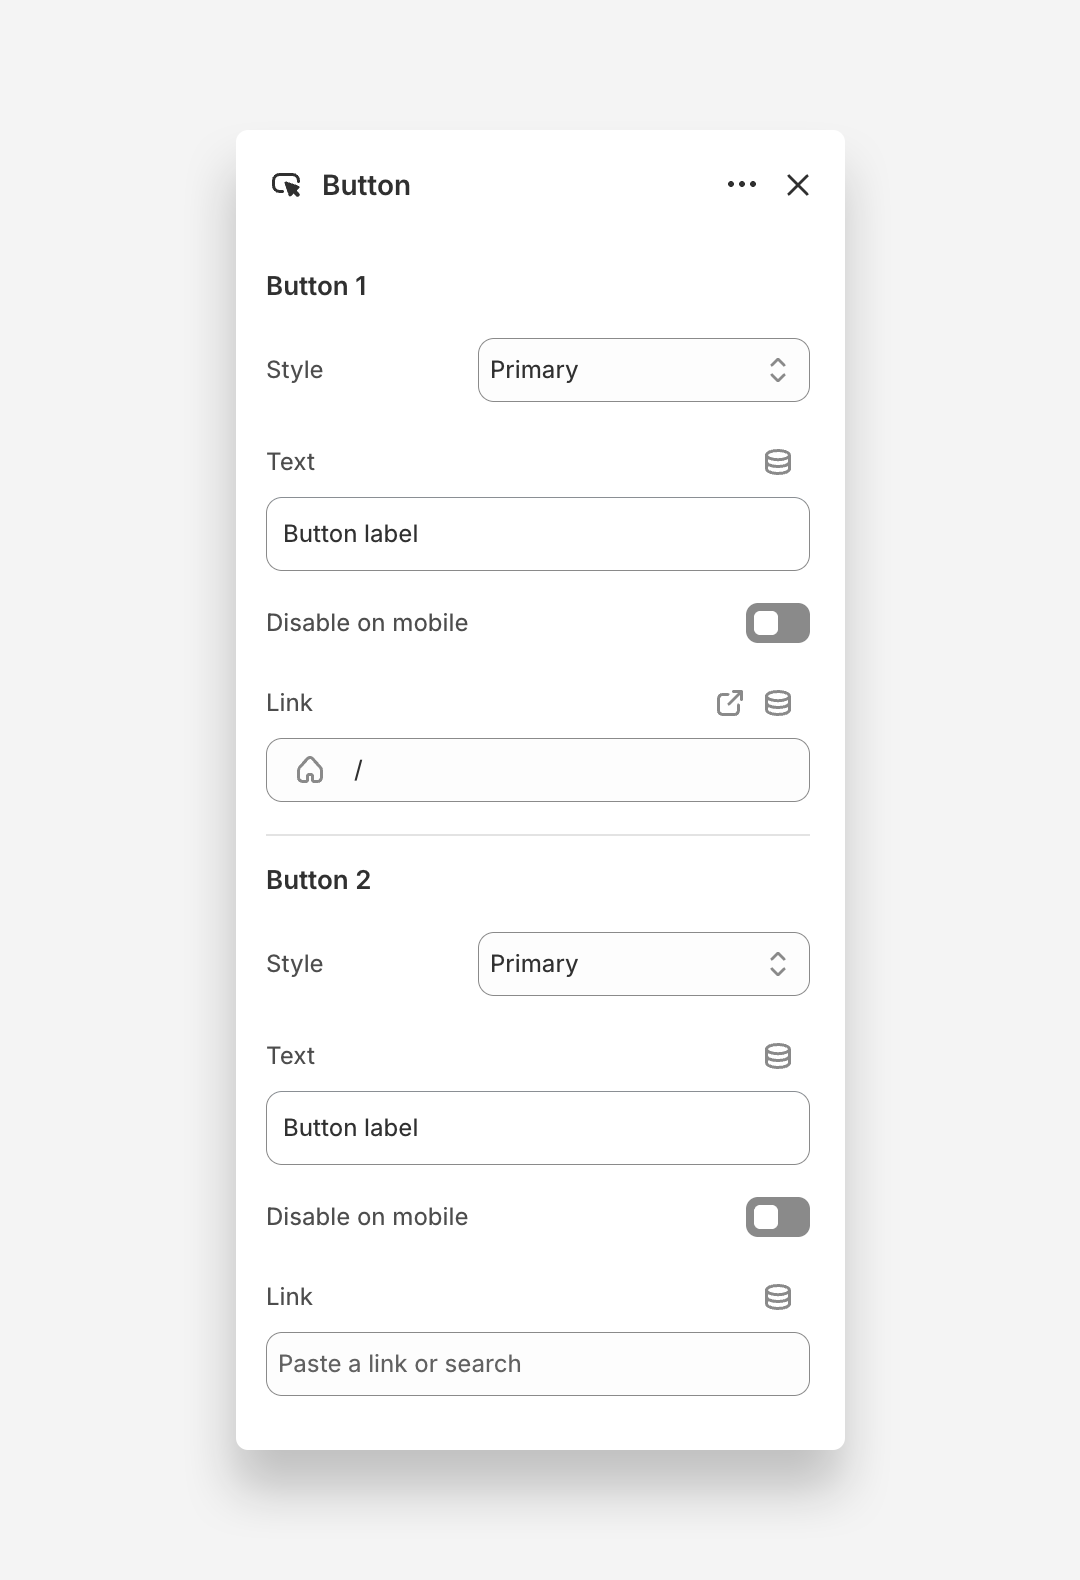
Button Block
The Button block adds one or two call-to-action buttons overlaid on the banner image.
Button 1
- Style: Choose the visual style of the button.
- Text: Set the button label.
- Disable on mobile: Hide Button 1 on mobile devices.
- Link: Assign a URL or page link to the button.
Button 2
- Style: Choose the visual style of the button.
- Text: Set the button label.
- Disable on mobile: Hide Button 2 on mobile devices.
- Link: Assign a URL or page link to the button.
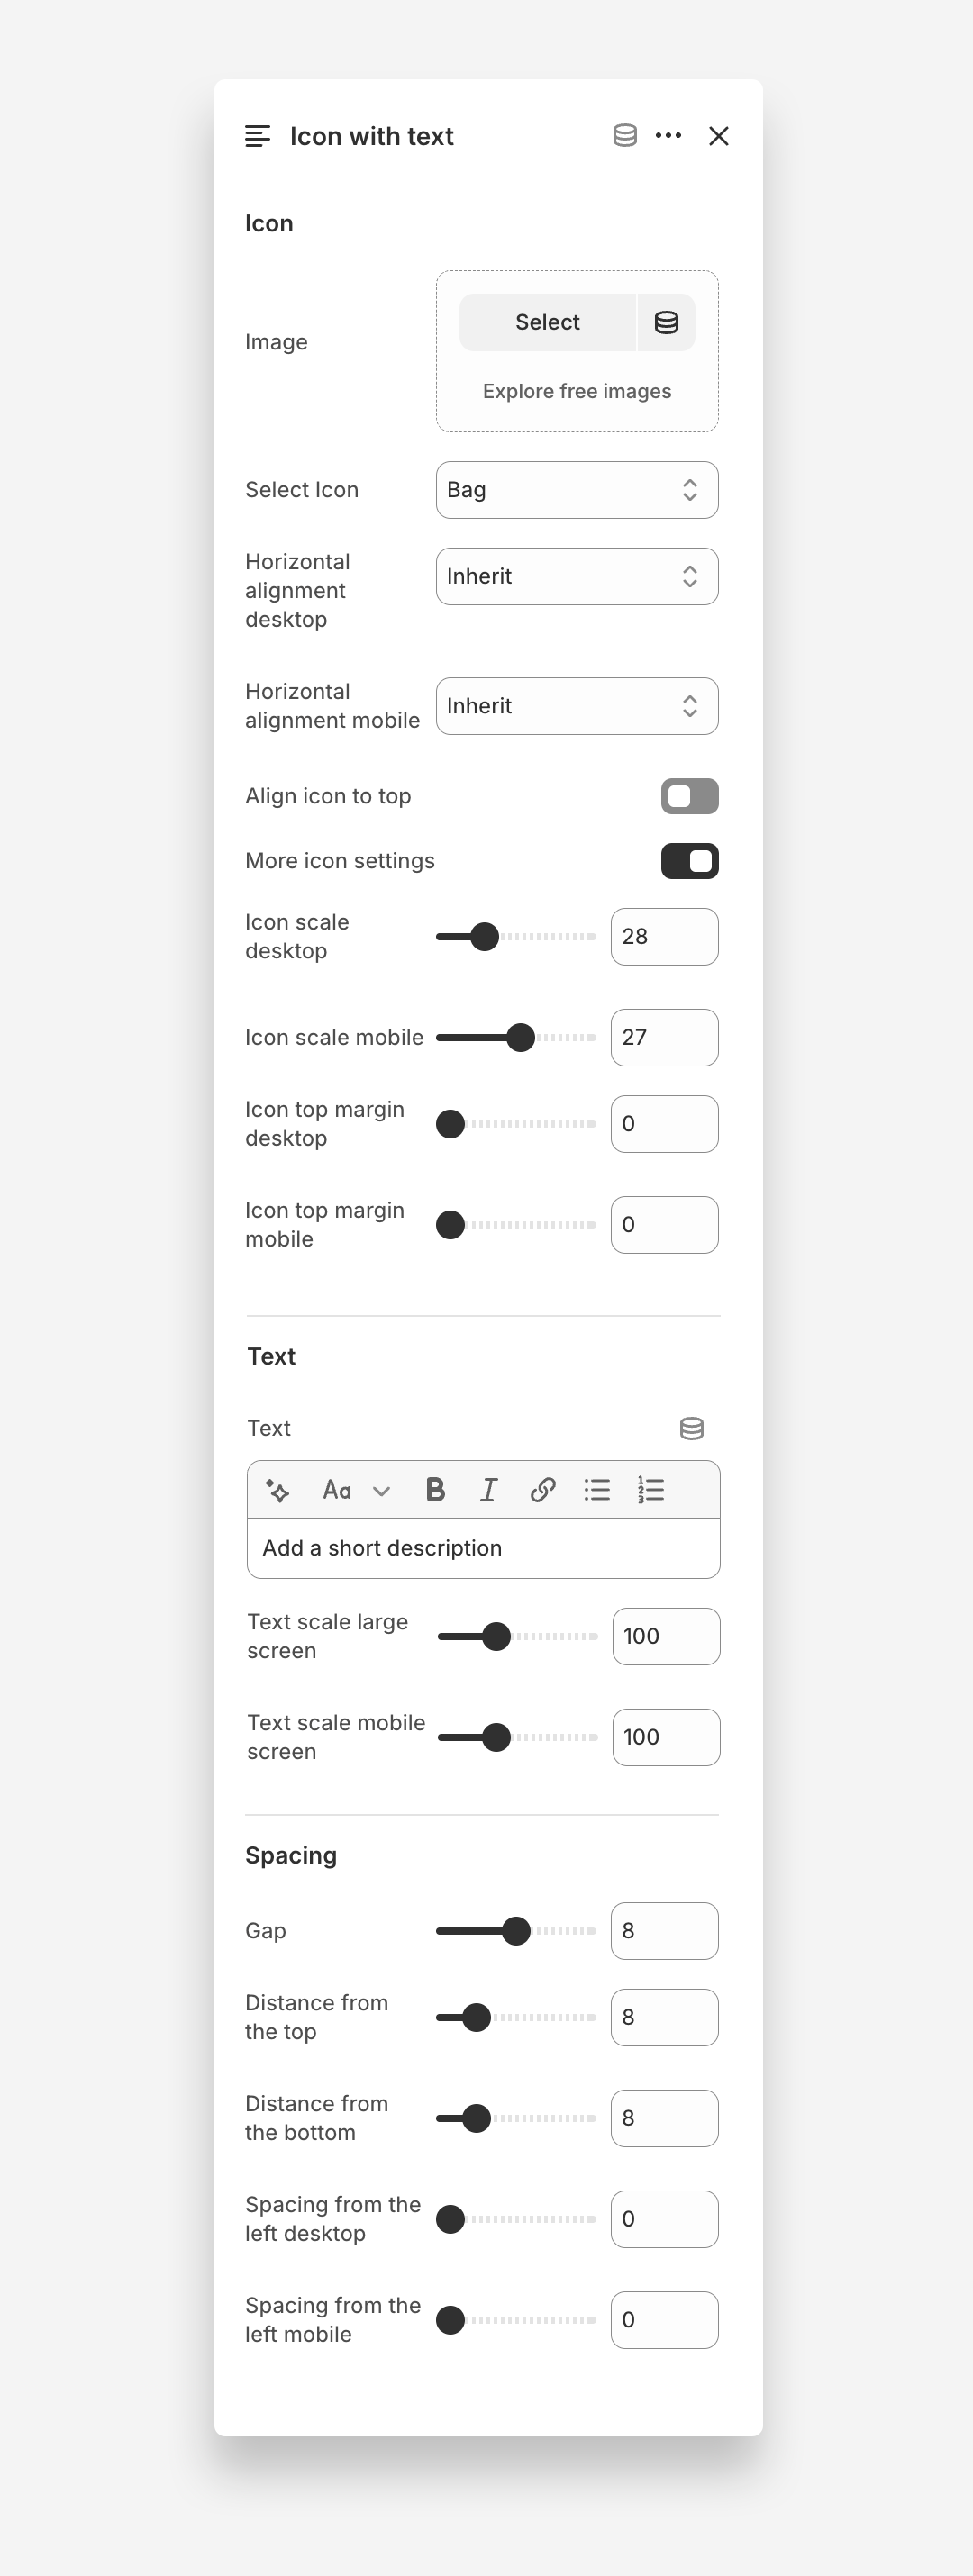
Icon with Text Block
The Icon with Text block displays an icon paired with a short description overlaid on the banner image. It is ideal for highlighting key features or selling points directly within the banner.
Icon
- Image: Upload a custom image to use as the icon.
- Select Icon: Choose an icon from the built-in icon library.
- Horizontal alignment desktop: Set the horizontal alignment of the icon on desktop.
- Horizontal alignment mobile: Set the horizontal alignment of the icon on mobile devices.
- Align icon to top: Enable this toggle to align the icon to the top of the block.
- More icon settings: Enable this toggle to access additional icon configuration options.
- Icon scale desktop: Define the size of the icon on desktop.
- Icon scale mobile: Define the size of the icon on mobile devices.
- Icon top margin desktop: Adjust the spacing above the icon on desktop.
- Icon top margin mobile: Adjust the spacing above the icon on mobile devices.
Text
- Text: Enter the label displayed next to the icon. Rich text formatting options are available.
- Text scale large screen: Adjust the font size of the text on large screens.
- Text scale mobile screen: Adjust the font size of the text on mobile devices.
Spacing
- Gap: Set the spacing between the icon and the text label.
- Distance from the top: Adjust the spacing above the block.
- Distance from the bottom: Adjust the spacing below the block.
- Spacing from the left desktop: Adjust the left offset of the block on desktop.
- Spacing from the left mobile: Adjust the left offset of the block on mobile devices.
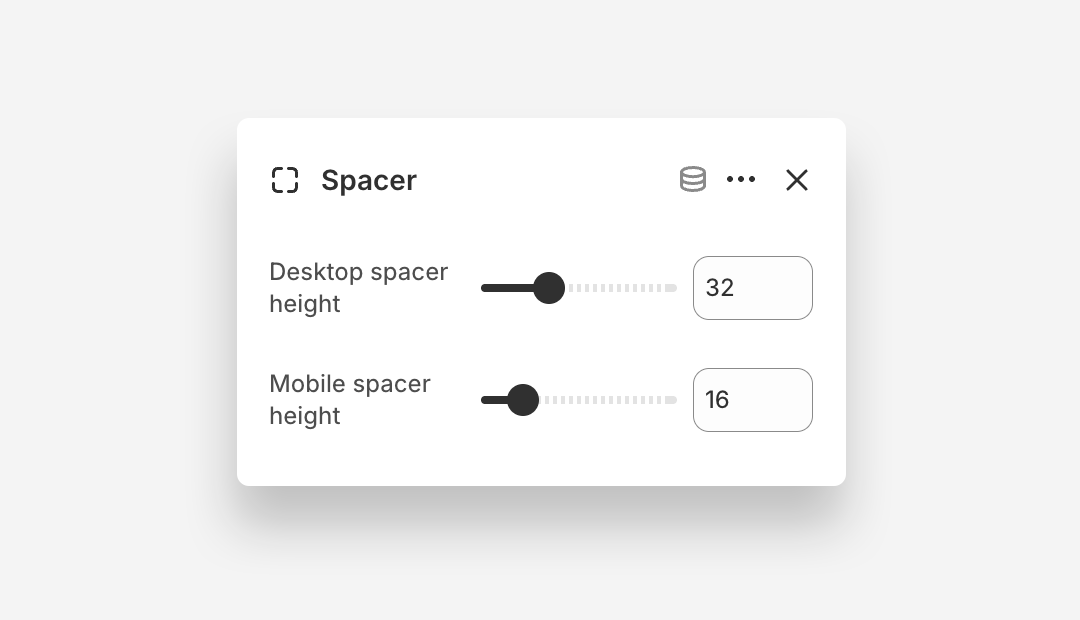
Spacer Block
The Spacer block adds a blank vertical space between content elements within the banner, allowing you to control the layout.
- Desktop spacer height: Define the height of the spacer on desktop.
- Mobile spacer height: Define the height of the spacer on mobile devices.
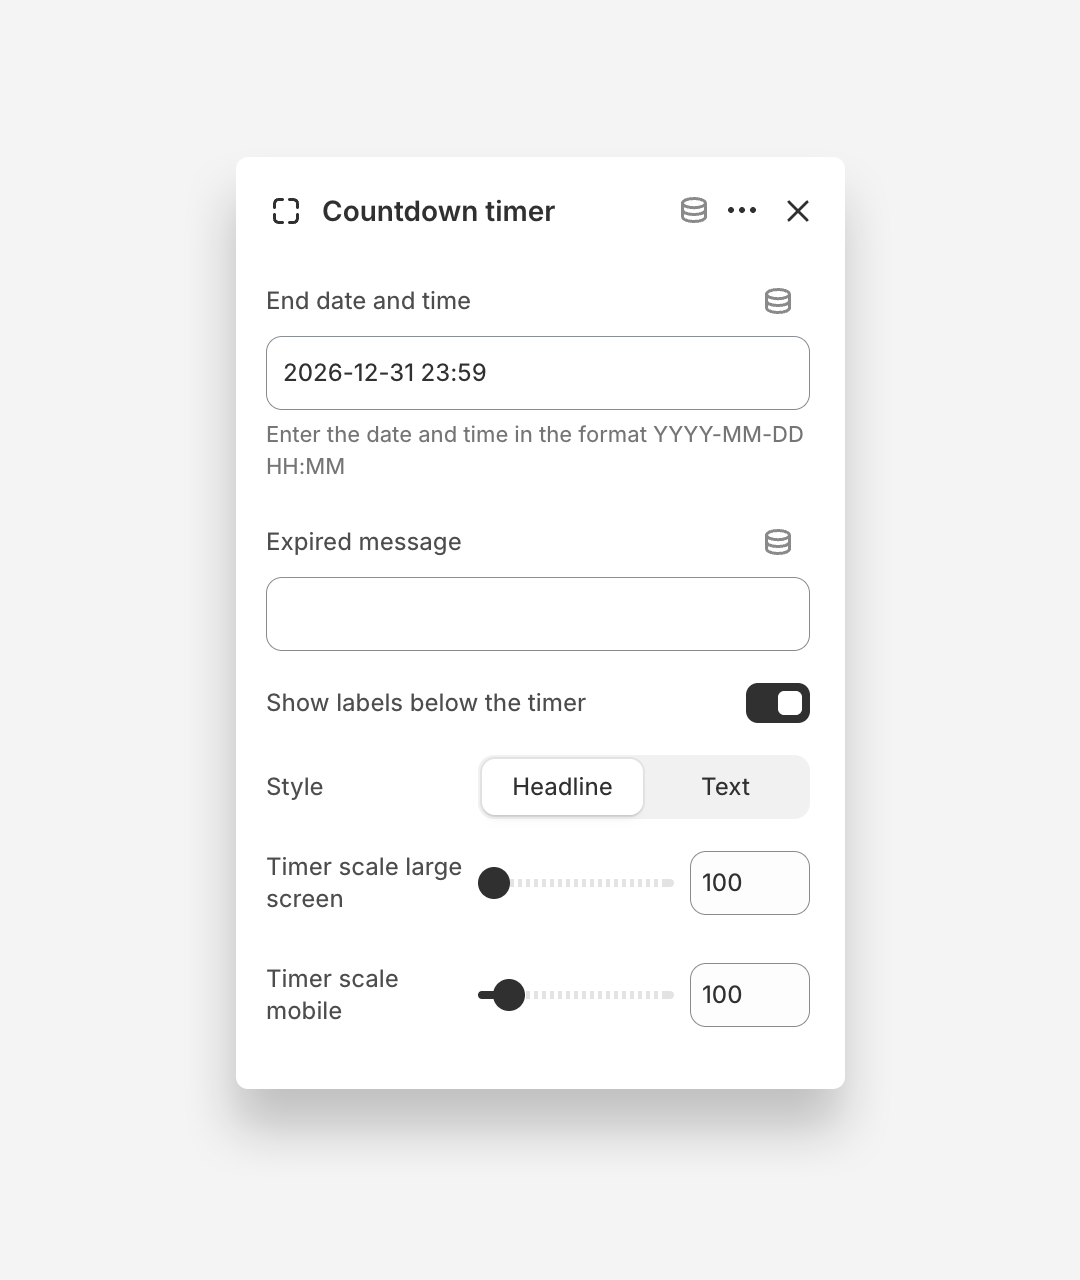
Countdown Timer Block
The Countdown Timer block displays a live countdown clock overlaid on the banner image, creating urgency for time-sensitive promotions or product launches.
- End date and time: Set the date and time at which the countdown ends. Enter the value in the format YYYY-MM-DD HH:MM.
- Expired message: Enter the message displayed once the countdown has reached zero.
- Show labels below the timer: Enable this toggle to display labels such as Days, Hours, Min, and Sec beneath the timer digits.
- Style: Set the text style of the timer — Headline or Text.
- Timer scale large screen: Adjust the font size of the countdown timer on large screens.
- Timer scale mobile: Adjust the font size of the countdown timer on mobile devices.